How Easy To Use A Gantt Chart
Keeping track of your work can be difficult without the right tools. You can plan your project easily when you know how to use a Gantt chart. It’s easy!
1. Create a Task List
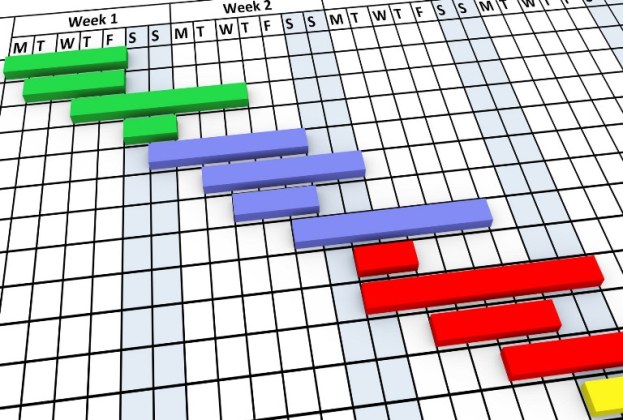
Gantt charts were named after scheduling guru Henry Gantt, who popularized the idea of visual planning in the early 1900’s.
He would want you to start with a task list. Use your task management software to create a list of everything that you need to do on the project. Input to this list can come from:
- Workshops
- Interviews with the team
- Previous project plans (why reinvent the wheel?)
- Expert opinion
- A work breakdown structure.
When you have your task list you are ready to move on to the next step.
2. Agree the Sequence
Next you need to work out the order of the tasks. You can’t work on everything on Day 1, even if you have a large team. Some tasks simply can’t be started before other work is complete. If you are building a house, you need the walls up before you can put the roof on, right?
One of the best way to work out the order of the tasks is to go old school and use sticky notes to move the activities around on a piece of paper until you have a flow that the whole team can agree on.
When you have that, juggle the tasks around in your software tool so that they are in the right order.
3. Link Tasks Together
Linking tasks together, which you will also hear as project dependencies’, is a good way to save time when things change in the future. If your tasks are linked you won’t have to manually reschedule themchange a date for one task and everything else downstream will automatically shuffle about to reflect the change.
A little bit of work now to link your tasks will pay off in the long term, so do it today. Go through your task list and add links where it makes sense to do so.
This has the added advantage of creating an accurate timescale for the project. And when you switch to Gantt chart view in your software you’ll see a Gantt chart has magically appeared!
4. Assign the Work
Using a Gantt chart to plan your project will primarily help you organize and schedule tasks. You can also use it to record the names of the people working on those tasks. You don’t have to, but it is useful, especially if you plan to use your software to assign activities to people on the team.
Go through each task and add the names of the relevant individuals. Then you can assign them the activity.
5. Use the Information
The information in the Gantt chart is a huge bonus. You can see project status at a glance. You’ll be able to identify which tasks are only part-way through and work out the impact this is having on the whole project (with very little effort).
The Gantt chart gives you a great source of data to help the team make better decisions on your project. That’s why it’s so useful to know how they work, and it really is simple when you know how!